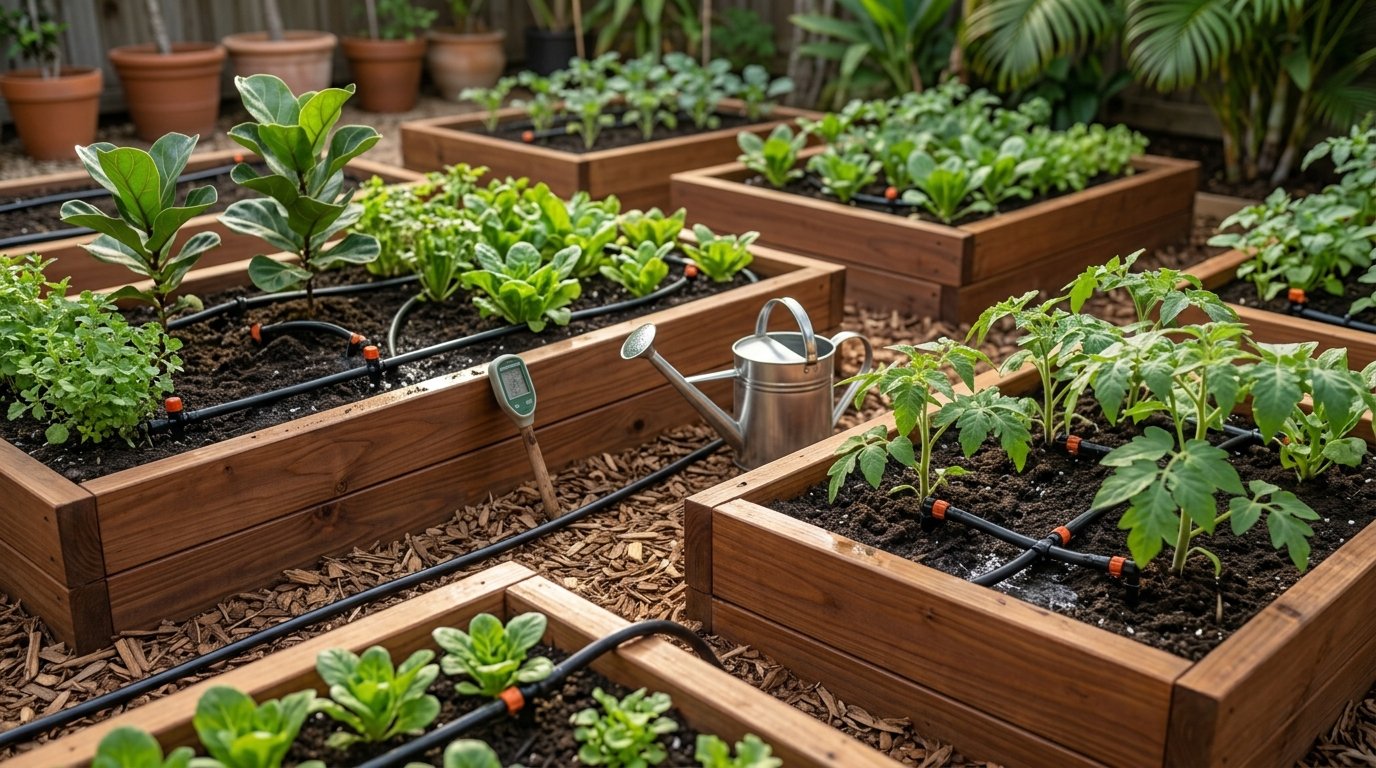
Installing a DIY drip irrigation setup home garden system is one of the most impactful upgrades you can make for your outdoor growing space. Hand-watering with a hose often results in uneven moisture delivery, shallow root growth, and high water waste through evaporation and runoff.
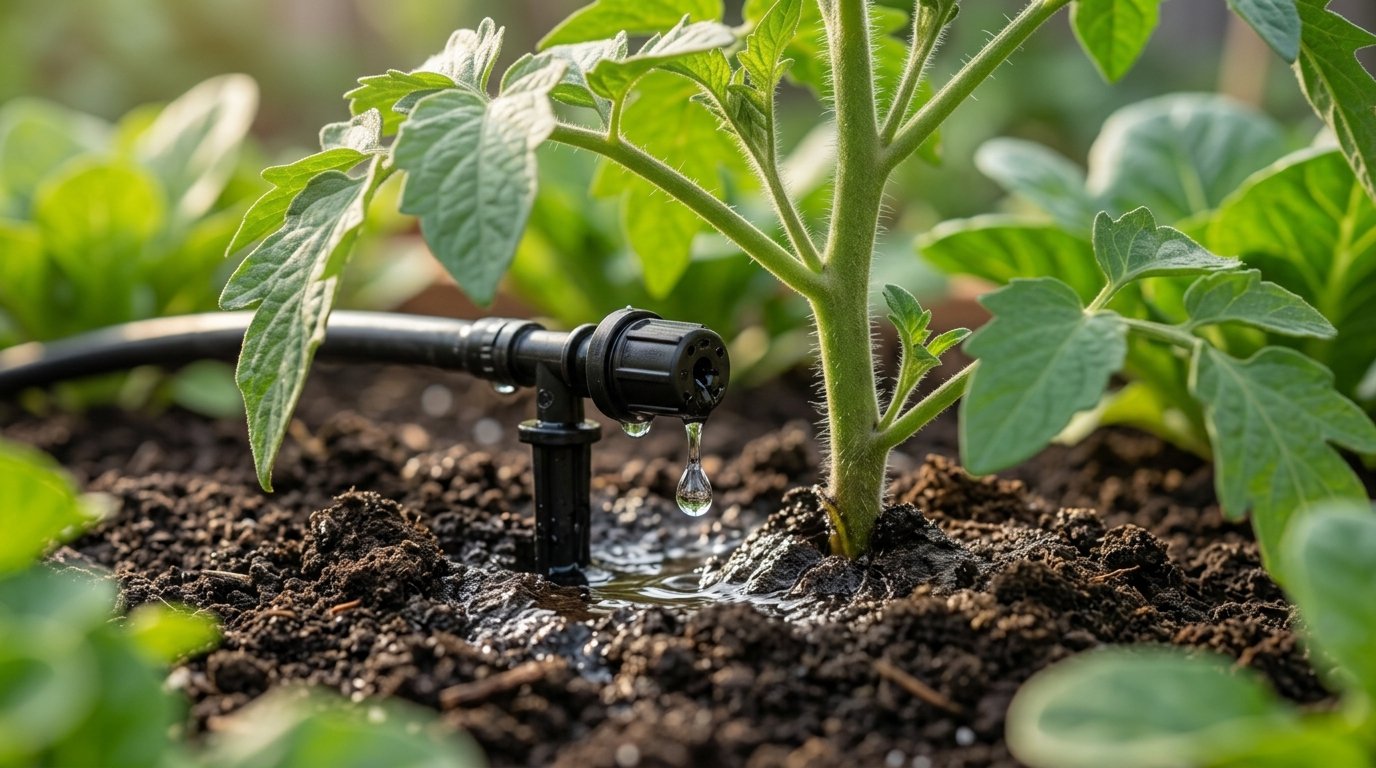
Drip irrigation solves these issues by delivering slow, steady drops of water directly to plant root zones. By automating water delivery, you save hours of manual labor every week while maintaining consistent soil moisture levels that reduce disease risks and boost overall harvest yields.
Key Takeaways
- Target Root Zones Directly: Drip emitters deliver moisture straight to the soil base, preventing wet leaves that encourage fungal leaf diseases.
- Essential Backflow & Pressure Components: Always install a backflow preventer to protect household drinking water and a pressure regulator to keep tubing connections from popping off.
- Automate for Consistency: Adding an automatic digital faucet timer ensures plants receive steady hydration even while you are away from home.
- Layout Tailoring: Use 1/2-inch main tubing for primary distribution lines and 1/4-inch micro-tubing for individual pots, hanging baskets, or raised bed rows.
- Routine Maintenance: Flush your main tubing lines seasonally and check individual emitters regularly to prevent mineral clogging.
Why a DIY Drip Irrigation Setup Home Garden System Is Essential
Setting up a structured DIY drip irrigation setup home garden grid optimizes water efficiency and protects plant health across all growing seasons.
Traditional overhead sprinklers waste up to 50% of applied water to evaporation and wind drift. Drip irrigation boasts over 90% water efficiency. Delivering hydration at root level prevents weed growth in dry garden pathways and avoids nutrient leaching caused by heavy overhead watering.
Essential Components for Your Drip System
To build a reliable drip network, gather these core components before starting installation:
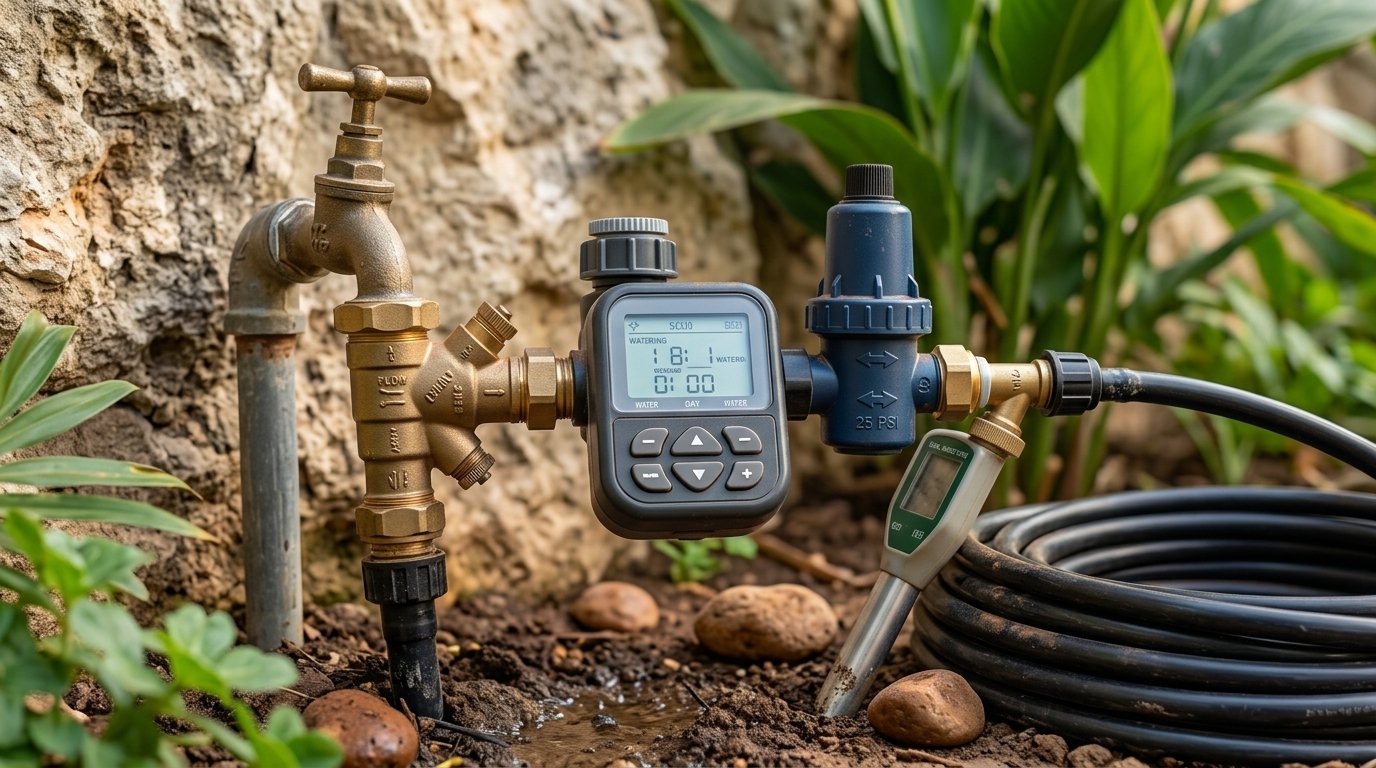
- Spigot Assembly Unit: Backflow preventer, digital hose end timer, 25 PSI pressure regulator, and a mesh filter washer.
- Main Distribution Tubing: 1/2-inch poly tubing that acts as the primary water highway across your garden beds.
- Micro-Tubing & Connectors: 1/4-inch vinyl tubing, barbed tees, straight connectors, and stakes to route water to individual plants.
- Emitters & Drippers: Pressure-compensating drip emitters (0.5 to 2.0 gallons per hour) or adjustable micro-bubblers for container pots.
Step-by-Step Installation Guide
Follow these clear steps to install your home drip network:
Step 1: Assemble the Head Connection
Attach the backflow preventer to your outdoor spigot, followed by the digital timer, mesh filter, pressure regulator, and 1/2-inch tubing adapter.
Step 2: Run the Main Line
Unroll your 1/2-inch poly tubing through garden rows or along raised beds. Anchor the line securely into the ground every 3 to 4 feet using metal landscape stakes.
Step 3: Punch Lines and Attach Emitters
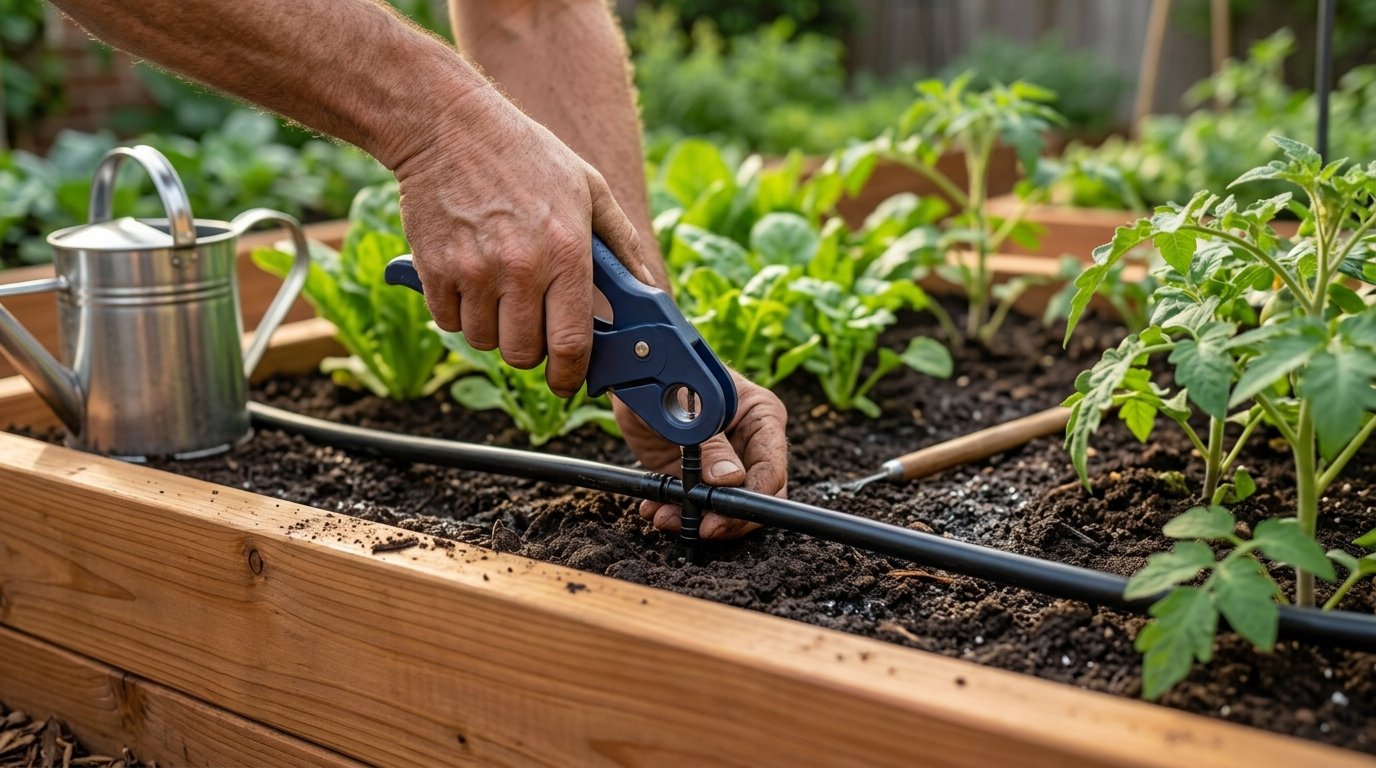
Use a specialized drip hole punch to pierce the 1/2-inch line where hydration is needed. Insert a barbed 1/4-inch adapter, attach micro-tubing, and place a drip emitter directly over the plant’s root area.
Step 4: Flush and Cap the System
Before sealing the line, turn on the water for 1 minute to clear out dirt or debris. Fold the end of the 1/2-inch tubing over itself and secure it with a end-cap figure-eight clamp.
System Maintenance and Winterization
- Regular Filter Cleaning: Unscrew and rinse the mesh filter screen every few months to remove sediment deposits.
- Winterization Steps: In freezing climates, disconnect the faucet timer and blow out residual water from lines using low-pressure air to prevent frozen pipe bursts.
Conclusion
Building your own DIY drip irrigation setup home garden system transforms daily garden maintenance into an efficient, hands-free routine. By delivering precise hydration directly to root zones, you conserve water, protect foliage health, and establish a thriving growing space season after season.
Frequently Asked Questions
How long should I run my DIY drip irrigation setup home garden system?
Run drip systems for 30 to 60 minutes per session, 2 to 3 times per week, depending on plant needs, ambient temperature, and emitter gallon-per-hour (GPH) flow rates.
What water pressure is required for home drip irrigation?
Drip irrigation systems run best at low pressures between 15 and 25 PSI. Always use a pressure regulator at the faucet to prevent high house water pressure from popping fittings apart.
Can I connect a drip irrigation system to a rain barrel?
Yes, but rain barrels run on low gravity pressure. Use specialized low-pressure/gravity drip tubing or install a small inline pump to push water through standard pressure-compensating emitters.
1 thought on “Irrigation: DIY Drip Irrigation Setup Home Garden”