
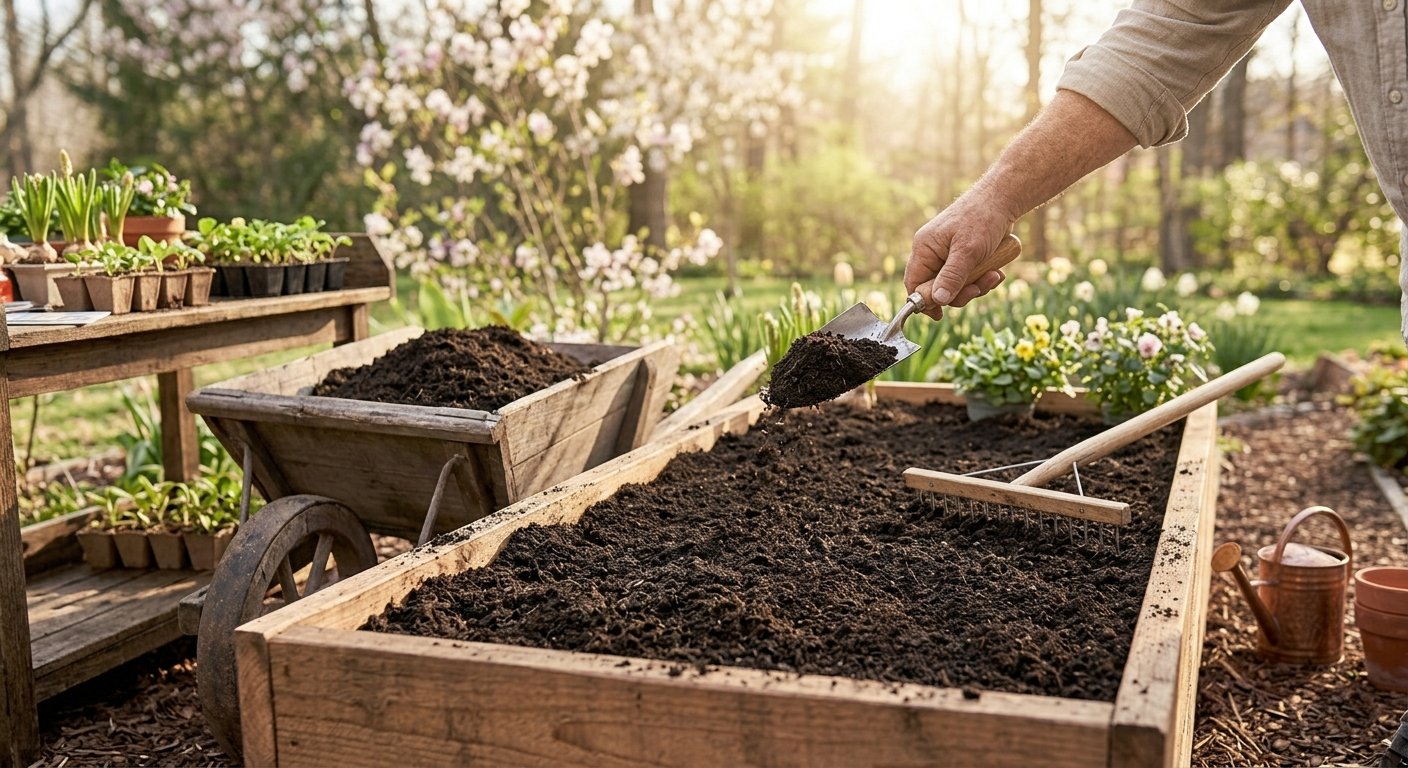
Executing systematic spring garden soil preparation steps before planting seeds or transplants is the single most important investment you can make for a high-yielding, resilient garden. Over winter, soil becomes compacted by rain, snow, and freezing temperatures, while vital soil nutrients naturally leach out of the root zone.
Preparing your ground in early spring restores soil structure, improves drainage, balances pH levels, and wakes up beneficial soil micro-organisms. Whether you manage raised garden beds or traditional in-ground plots, following this step-by-step soil preparation routine creates the ultimate environment for strong root development and healthy plant growth.
Key Takeaways
- Check Moisture Before Tilling: Avoid working wet spring soil; squeezing a handful into a ball should crumble easily under light thumb pressure to prevent clumping and compaction.
- Conduct a Soil Test: Test your soil pH and nutrient levels in early spring to apply exact amendments rather than guessing what your plants need.
- Incorporate Aged Organic Matter: Work a 2- to 3-inch layer of well-rotted compost or leaf mold into the top 6 inches of soil to boost microbial health and moisture retention.
- Minimize Heavy Tilling: Broadfork or gently loosen soil rather than aggressive rototilling to preserve delicate earthworm networks and mycorrhizal fungi structures.
- Warm the Soil Early: Use clear or black plastic sheeting over cold garden beds 2 weeks prior to planting to raise soil temperatures for early spring crops.
Why Master Spring Garden Soil Preparation Steps?
Following proper spring garden soil preparation steps sets the stage for optimal plant development and disease resistance throughout the summer.
Compacted, nutrient-starved soil restricts root expansion, traps excess water around roots, and starves plants of oxygen. Taking the time to test, aerate, and nourish topsoil in early spring ensures plant roots easily access essential nitrogen, phosphorus, and potassium as soon as growth resumes.
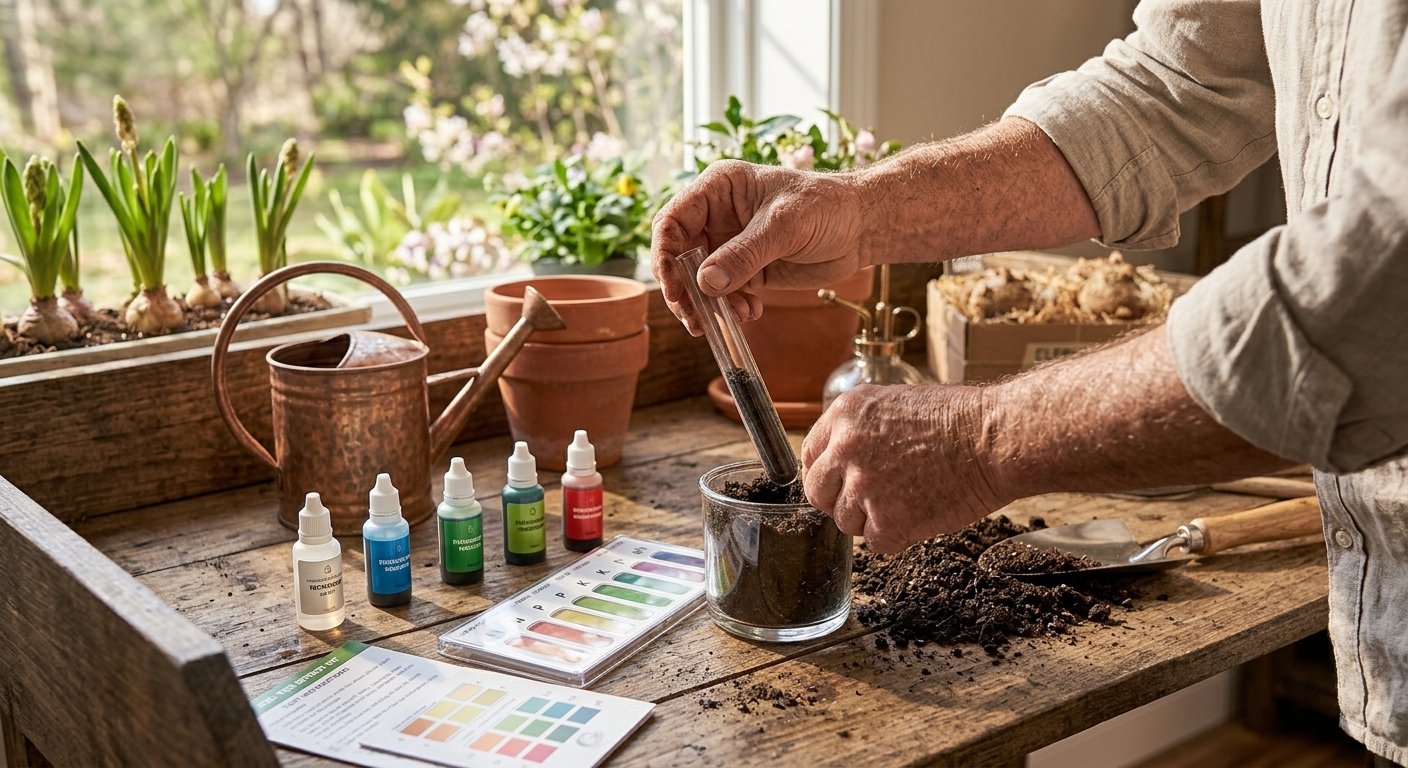
Testing and Aerating Soil in Early Spring
Before adding fertilizers or amendments, evaluate the physical and chemical condition of your garden beds:
1. The Soil Moisture Test
Grab a handful of soil from a depth of 4 inches and squeeze it into a ball. If water drips out or the ball stays sticky and dense, the soil is too wet to work. Working wet soil destroys its natural structure, creating hard, brick-like clods when dry. Wait until the soil crumbles easily when gently pressed.
2. Testing Soil pH and Nutrient Levels
Use a digital soil meter or home testing kit to check soil pH. Most vegetables thrive in slightly acidic to neutral soil (pH 6.0 to 7.0). Adjust low pH (acidic soil) with garden lime or high pH (alkaline soil) with elemental sulfur based on your test results.
3. Aerating with a Broadfork
Instead of rototilling—which disrupts soil ecology and brings buried weed seeds to the surface—insert a broadfork or garden fork into the ground and gently lean back to loosen compacted layers without turning the soil upside down.
Amending and Warming Garden Soil
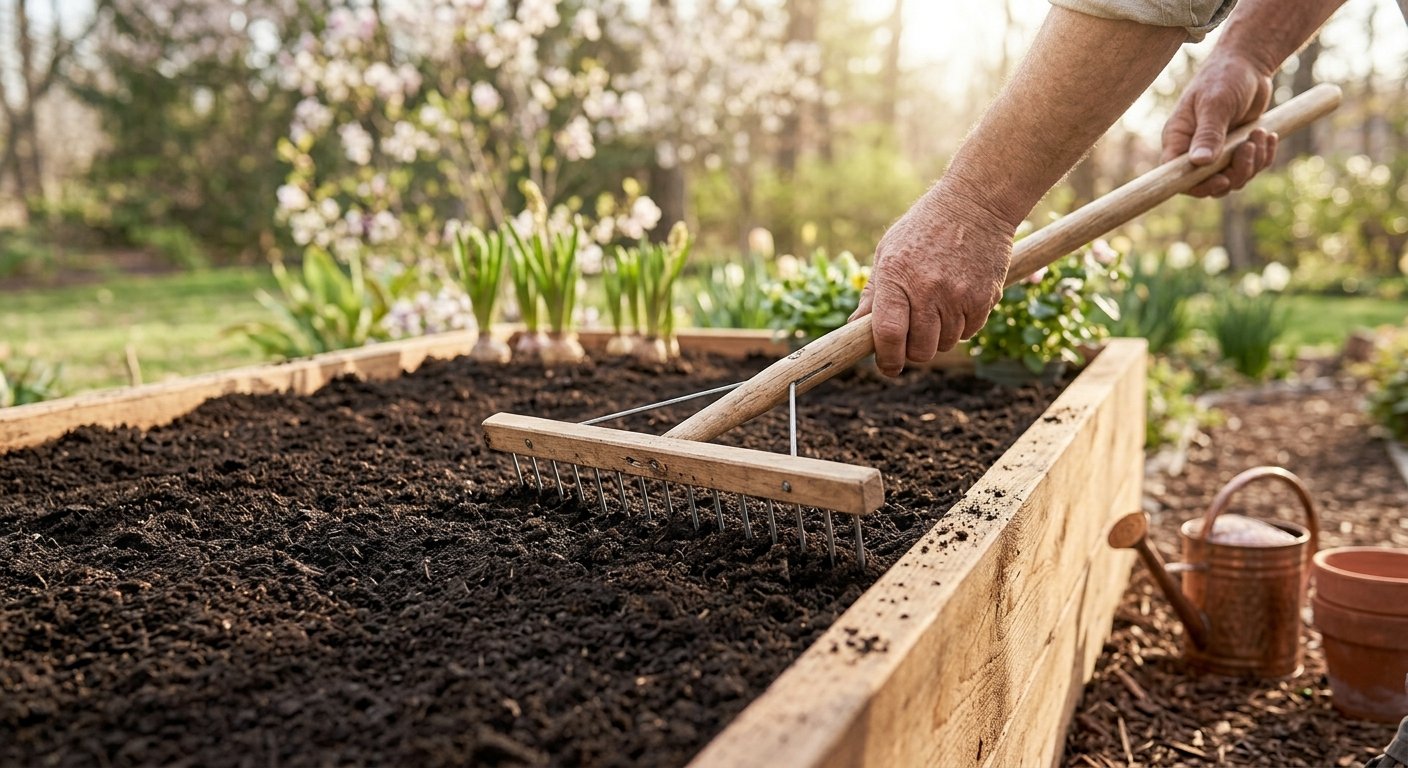
Replenishing lost organic matter feeds beneficial soil biology and optimizes moisture balance:
- Top-Dress with Finished Compost: Spread 2 to 3 inches of dark, rich compost or leaf mold over your beds. Gently mix it into the top few inches of soil using a hand cultivator.
- Add Slow-Release Organic Fertilizers: Incorporate balanced organic amendments like bone meal, kelp meal, or aged manure to provide steady nutrition to young roots.
- Warming Soil with Covers: For early spring crops like lettuce, spinach, and radishes, lay black weed-barrier fabric over beds 10 to 14 days before planting to absorb solar heat and raise ground temperatures.
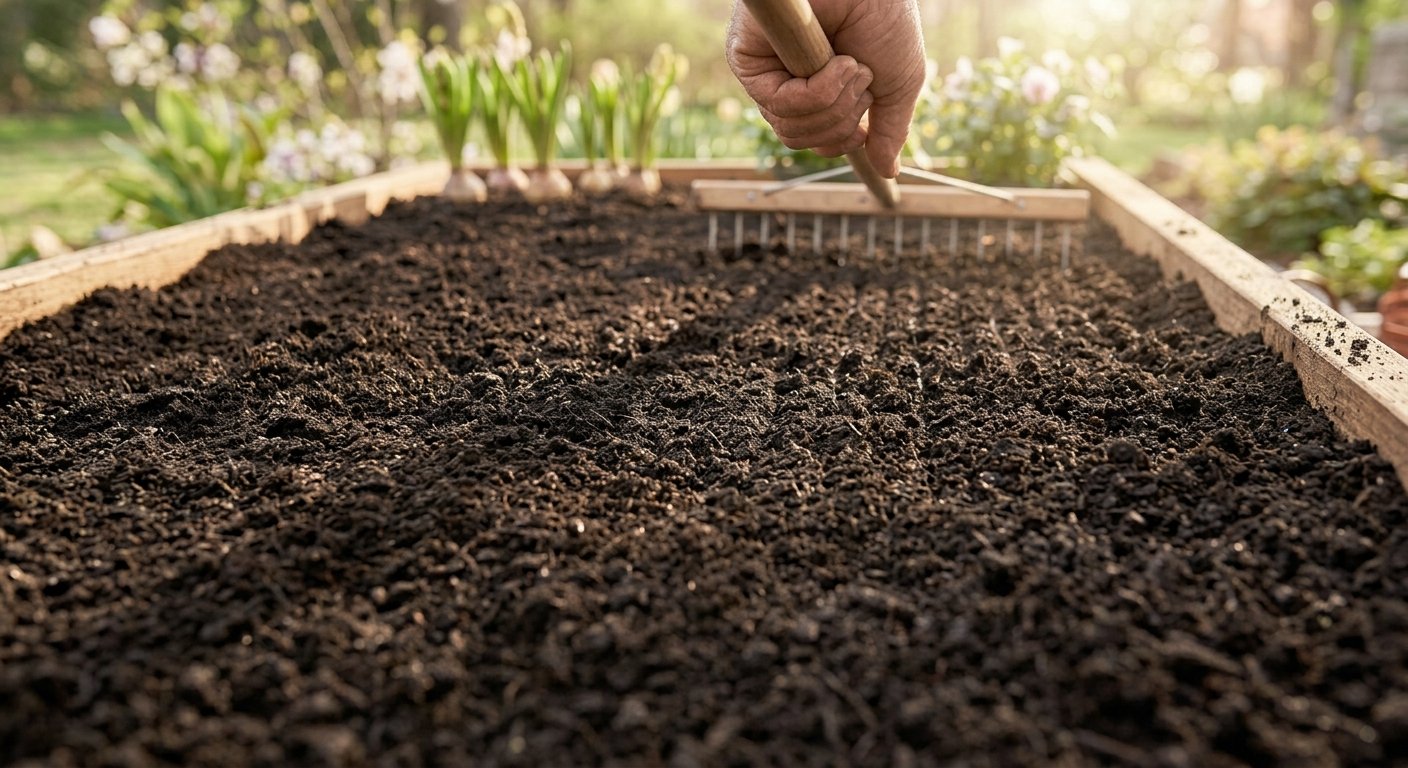
Finalizing Seedbeds for Spring Planting
- Rake to a Fine Tilth: Use a bow rake to break up small clods and smooth the top layer of soil into a fine, level bed, making it easy for delicate seeds to germinate.
- Mulch Garden Paths: Cover pathways between beds with wood chips or straw to prevent walking on active root zones and compacting freshly prepared soil.
Conclusion
Carrying out these spring garden soil preparation steps lays the foundation for a vibrant, productive garden. By testing pH levels, aerating without disturbing soil biology, and mixing in rich organic compost, you create fertile, well-draining soil ready to fuel healthy growth all season long.
Frequently Asked Questions
What are the first spring garden soil preparation steps I should take?
Start by cleaning off remaining winter debris and testing soil moisture. Once the soil dries enough to crumble easily, conduct a quick pH test and gently aerate the ground before adding compost.
How much compost should I add during spring garden soil preparation?
Apply a 2- to 3-inch layer of well-rotted compost over the entire planting area. Work it gently into the top 4 to 6 inches of soil where young plant roots develop.
Can I prepare my spring garden soil while it is still cold?
Yes, you can loosen soil and add compost as soon as the ground thaws and dries out enough to work without clumping, even if ambient air temperatures are still cool.
1 thought on “Spring-Prep: Spring Garden Soil Preparation Steps”