
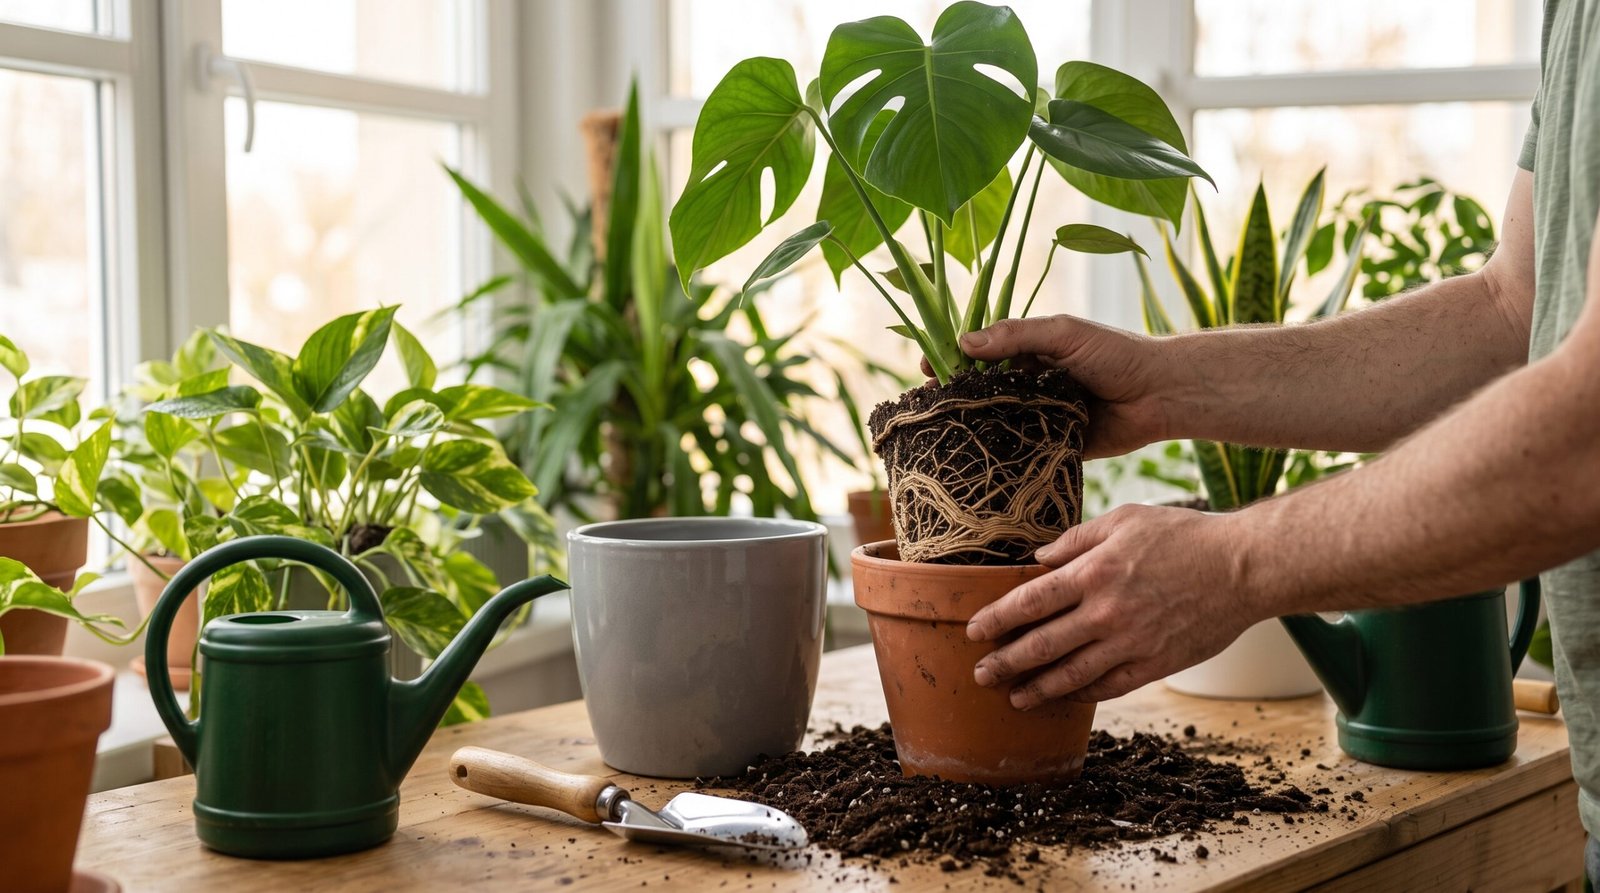
Every indoor plant eventually outgrows its container. Learning houseplant repotting step by step is an essential skill for keeping your indoor foliage vibrant, resilient, and thriving year after year. Refreshing compacted soil and expanding root space prevents stunted growth, poor water absorption, and nutrient deficiencies.
Repotting is not just about moving a plant to a bigger container; it is a routine maintenance process that restores root health and aeration. This comprehensive guide details the signs your plant needs repotting, how to prepare supplies, and the exact steps to ensure a smooth transition without potting shock.
Key Takeaways
- Proper Timing: Repot primarily during active growth periods in spring and early summer for optimal root recovery.
- Pot Sizing: Upgrade pot diameter by only 1 to 2 inches for smaller plants, or 2 to 3 inches for larger floor specimens to avoid waterlogged soil.
- Drainage First: Always use containers with functional drainage holes to prevent root rot.
- Root Pruning: Loosen tightly bound, circular root balls gently before placing the plant into fresh soil.
- Post-Care Settling: Water thoroughly after repotting to eliminate air pockets, but hold off on heavy fertilizing for 4 to 6 weeks.
When to Repot: Recognizing the Signs
Before diving into houseplant repotting step by step, verifying whether your plant genuinely needs a new container is crucial. Moving a plant unnecessarily can cause unneeded stress.
[Internal Link: Discover the best indoor plant lighting ideas to support new post-repotting growth]
Clear Indicators Your Plant Needs Repotting:
- Visible Roots: Roots growing out of the bottom drainage holes or crawling over the soil surface.
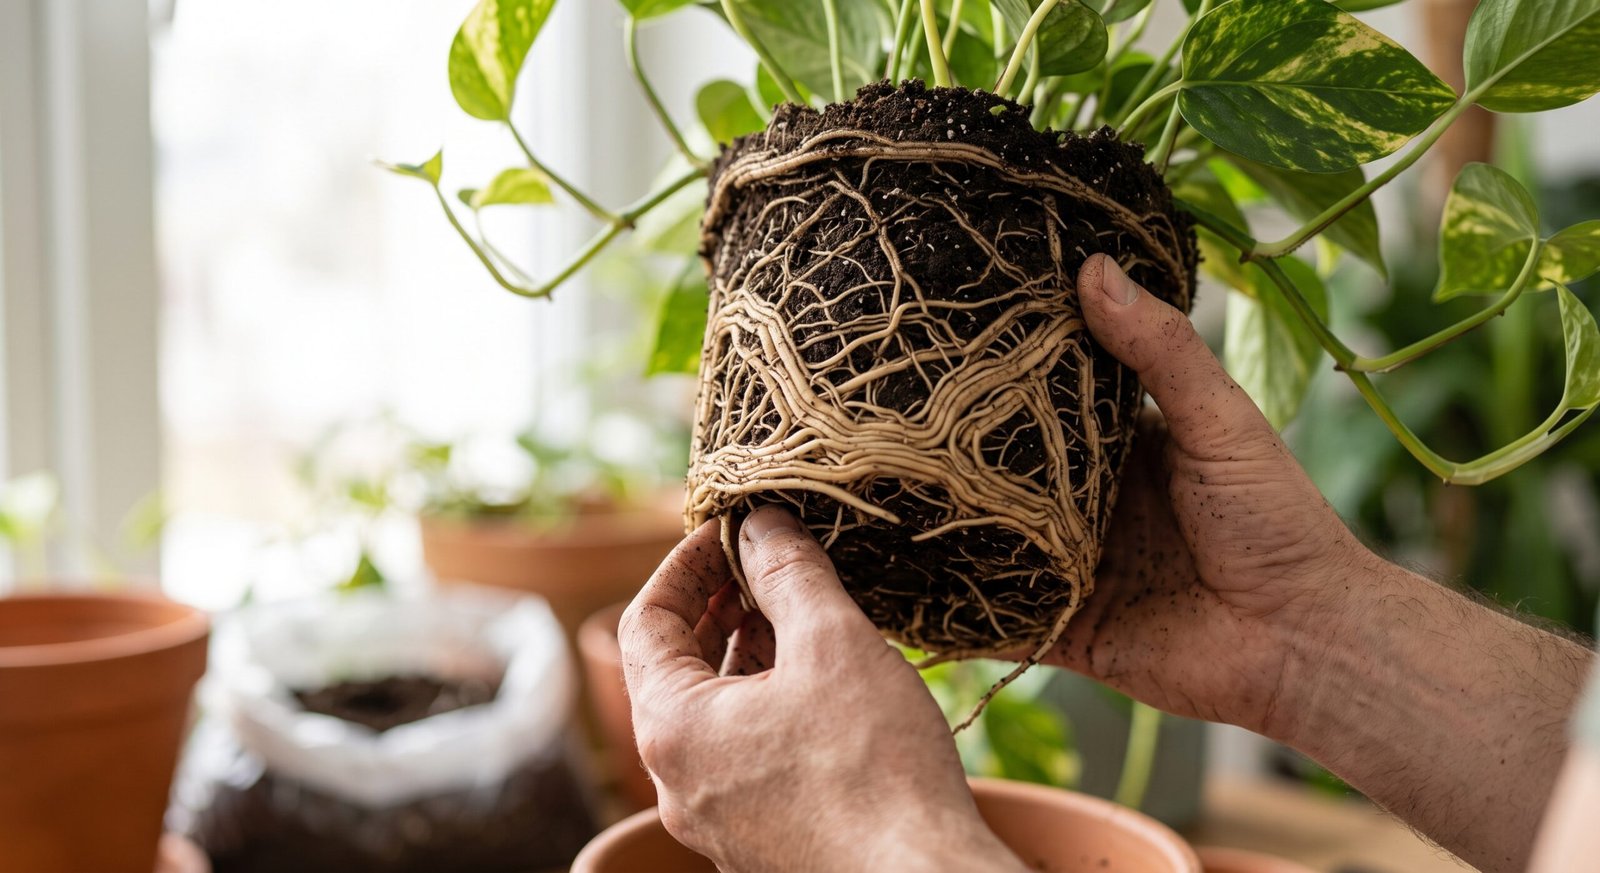
- Root-Bound Condition: The plant lifts out of the pot as a solid mass of tightly wound roots with little visible soil remaining.
- Water Running Straight Through: Water drains immediately down the sides without soaking into the dense root mass.
- Stunted Growth: The plant slows growth during spring or summer despite regular light and fertilizer.
- Top-Heavy Instability: The plant tips over easily because its foliage outweighs the pot volume.
Essential Supplies You Will Need
Having your materials ready before starting houseplant repotting step by step minimizes the time plant roots spend exposed to dry air.
- A New Pot: Select a container 1 to 2 inches larger in diameter than the current one, featuring drainage holes.
- Fresh Potting Mix: High-quality, well-draining indoor potting soil amended with perlite or coconut coir for optimal aeration.
- Hand Trowel or Scoop: For clean soil placement around root zones.
- Watering Can: To settle the soil immediately after potting.
- Pruning Shears: Clean, sterilized shears to trim damaged or dead roots.
Houseplant Repotting Step by Step Guide
Step 1: Prepare the New Container and Soil
Cover the drainage hole of the new pot with a small mesh screen or terracotta shard to keep soil from washing out. Add a layer of pre-moistened fresh potting mix to the bottom so the top of the plant’s root ball will sit about 1 inch below the pot rim.
Step 2: Gently Remove the Plant
Support the plant stems near the soil line with one hand. Turn the pot sideways or upside down, tapping the sides and bottom gently until the root ball slides out smoothly. Avoid yanking stems directly.
Step 3: Inspect and Loosen the Roots
Gently unbind tightly wrapped outer roots using your fingers. Cut away any mushy, blackened, or dead roots using sterile shears. Teasing the roots outward helps them grow straight into the new surrounding soil.
Step 4: Position and Fill
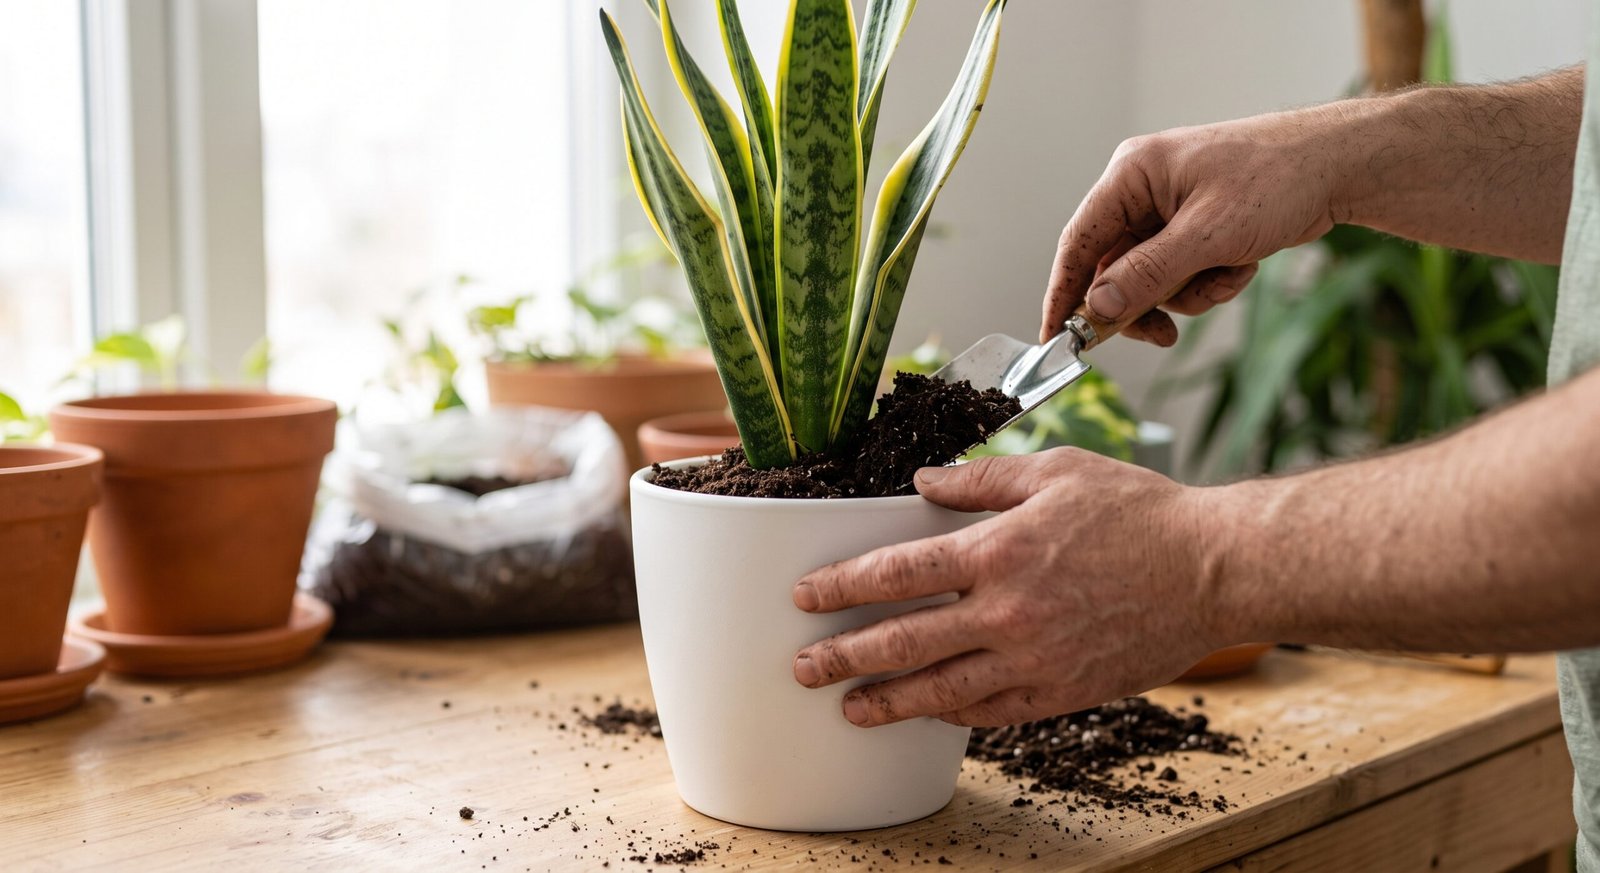
Center the plant inside the new pot. Hold it level while adding fresh potting soil around the sides using your trowel. Press the soil down gently with your fingers to firm it in place, leaving a 1-inch space below the rim for easy watering.
[External Link: Read the University of Florida Extension guide on potted plant media and root management]
Aftercare: Helping Your Plant Recover
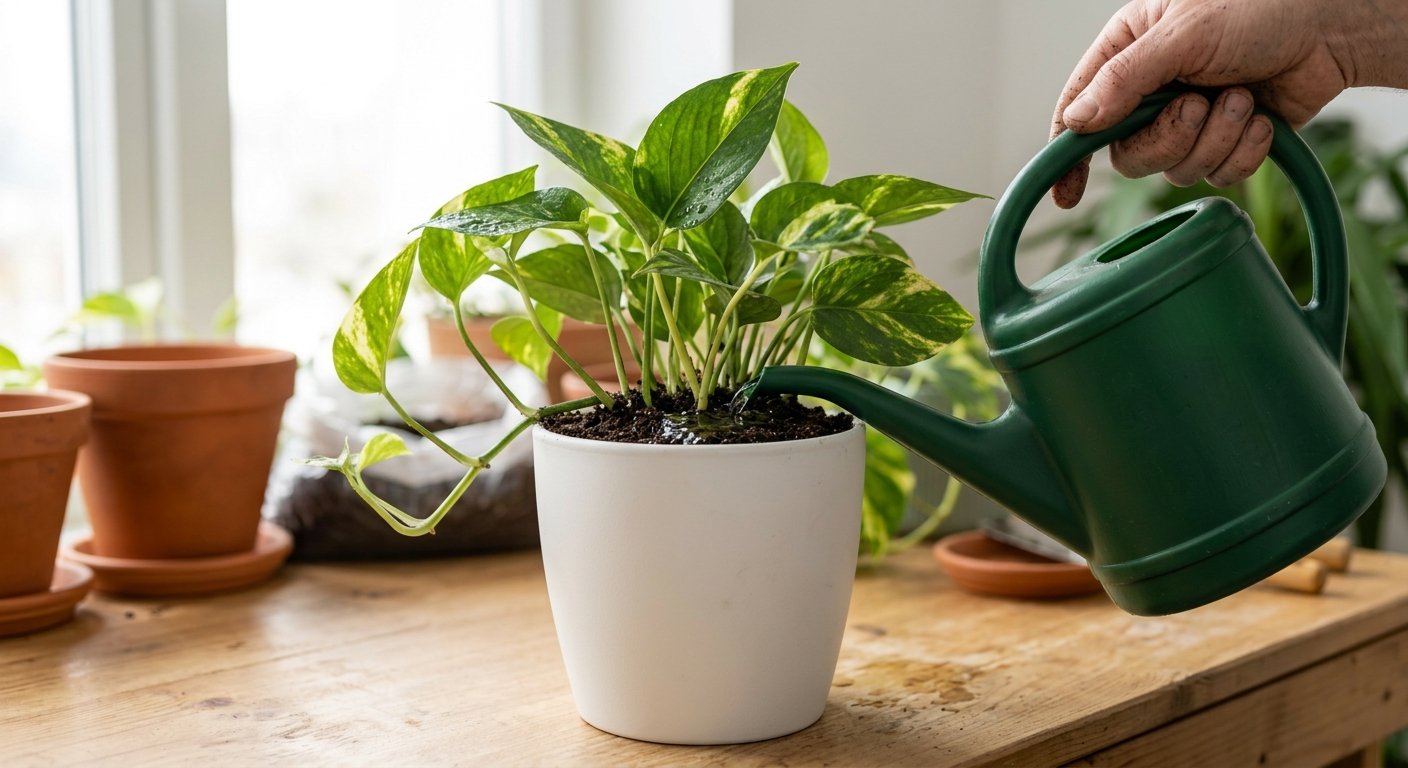
Follow these critical steps to minimize transplant shock after completing houseplant repotting step by step:
- Water Thoroughly: Water until liquid flows freely out of the drainage holes. This settles the fresh soil around the root system and closes air pockets.
- Provide Indirect Light: Keep the plant in medium, indirect light for 5 to 7 days, avoiding direct afternoon sunlight while roots stabilize.
- Pause Fertilization: Wait 4 to 6 weeks before applying liquid fertilizer. Fresh potting mix already contains essential nutrients, and new roots can burn if fertilized too quickly.
Conclusion
Following houseplant repotting step by step ensures your indoor collection stays healthy, structurally supported, and full of lush foliage. By selecting appropriately sized pots, loosening bound roots, and allowing a brief recovery period in bright indirect light, you give your houseplants the foundation they need to flourish for years to come.
Frequently Asked Questions
What is the best season for houseplant repotting step by step?
Spring and early summer are the best times to repot because plants enter active growth phases, allowing roots to recover rapidly and adapt to new soil environments.
Should I soak the roots before repotting?
Watering your plant 24 hours before repotting makes root removal easier and reduces plant stress. However, soaking bare roots in water is only necessary if the root mass is severely dried out or compacted.
How big should the new pot be when repotting?
Select a pot that is 1 to 2 inches larger in diameter for small-to-medium houseplants, and 2 to 3 inches larger for large floor plants. Using oversized containers holds excess moisture, increasing the risk of root rot.
1 thought on “Potting: Houseplant Repotting Step by Step”