
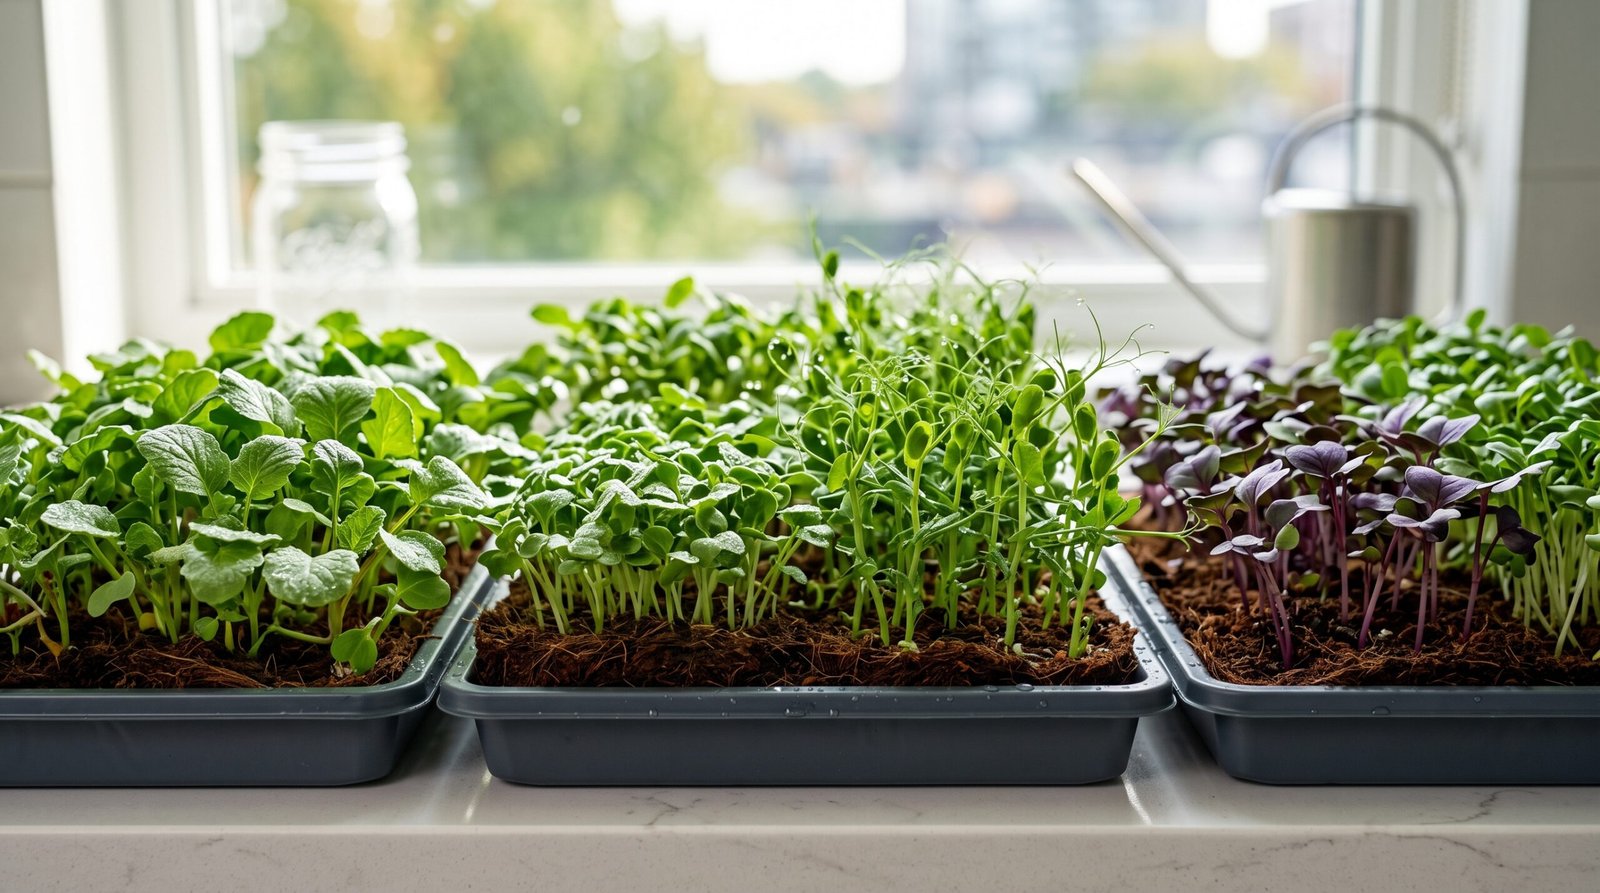
Cultivating nutrient-dense superfoods at home does not require an acre of land or weeks of patience. Learning how to grow microgreens indoors offers one of the quickest, most rewarding ways to produce fresh, flavorful greens right on your kitchen counter. These miniature seedlings—harvested just 7 to 14 days after germination—pack up to 40 times more vitamins and antioxidants than their mature plant counterparts.
Whether you are an apartment gardener with limited windowsill space or a culinary enthusiast looking for year-round garnishes, mastering container sprouting is simple, affordable, and highly productive.
Key Takeaways
- Rapid Harvests: Most microgreen varieties mature from seed to plate in just 10 to 14 days.
- Low Space Requirements: Shallow shallow trays, a small growing medium batch, and a sunny windowsill or LED light are all you need to start.
- Blackout Phase: Keeping seeds in total darkness for the first 3–4 days ensures uniform germination and strong root anchoring.
- Bottom Watering: Always supply water from the bottom tray to keep leaves dry and prevent fungal issues like mold or damping off.
- Nutrient Powerhouses: Microgreens deliver intense flavor and concentrated levels of vitamins C, E, and K along with key carotenoids.
Why You Should Learn How to Grow Microgreens Indoors
Growing young shoots indoors provides total control over environmental factors like moisture, temperature, and light. Unlike traditional garden crops that depend on seasonal changes, microgreens can be cultivated year-round regardless of snow or heatwaves outside.
Additionally, understanding how to grow microgreens indoors eliminates the need for chemical pesticides or heavy fertilizers. Because the young plants draw their primary nourishment directly from the endosperm within the seed, a clean growing medium and filtered water are all it takes to produce organic, pristine greens.
Essential Equipment and Seed Selection
Setting up your indoor growing station requires minimal investment. Using purpose-built materials ensures healthy airflow and uniform growth.
Core Supplies Required:
- Shallow Seed Trays: Standard 1020 trays (10×20 inches) or smaller food-safe plastic containers with drainage holes.
- Bottom Reservoir Tray: A solid tray without holes to hold water for bottom-irrigation.
- Growing Medium: Coconut coir, peat-based potting soil, or hemp seed mats provide ideal aeration and moisture retention.
- Spray Bottle: For gentle initial misting during germination.
- Light Source: A bright south-facing window or a low-wattage T5/LED grow light fixture.
Best Beginner Microgreen Seed Varieties
- Radish (Rambo / China Rose): Fast growing (5–7 days), highly reliable, and delivers a crisp, spicy kick.
- Sunflower: Produces thick, nutty, and crunchy shoots that are popular in salads and sandwiches.
- Pea Shoots (Speckled Pea): Sweet, leafy, and highly forgiving for first-time growers.
- Broccoli: Mild flavor and famous for high concentrations of sulforaphane, a powerful antioxidant.
Step-by-Step Guide: How to Grow Microgreens Indoors
Step 1: Prepare the Growing Medium
Fill your drainage tray with 1 to 1.5 inches of pre-moistened coconut coir or organic potting mix. Smooth the surface gently so it is level, avoiding overly compacting the media.
Step 2: Dense Seed Sowing
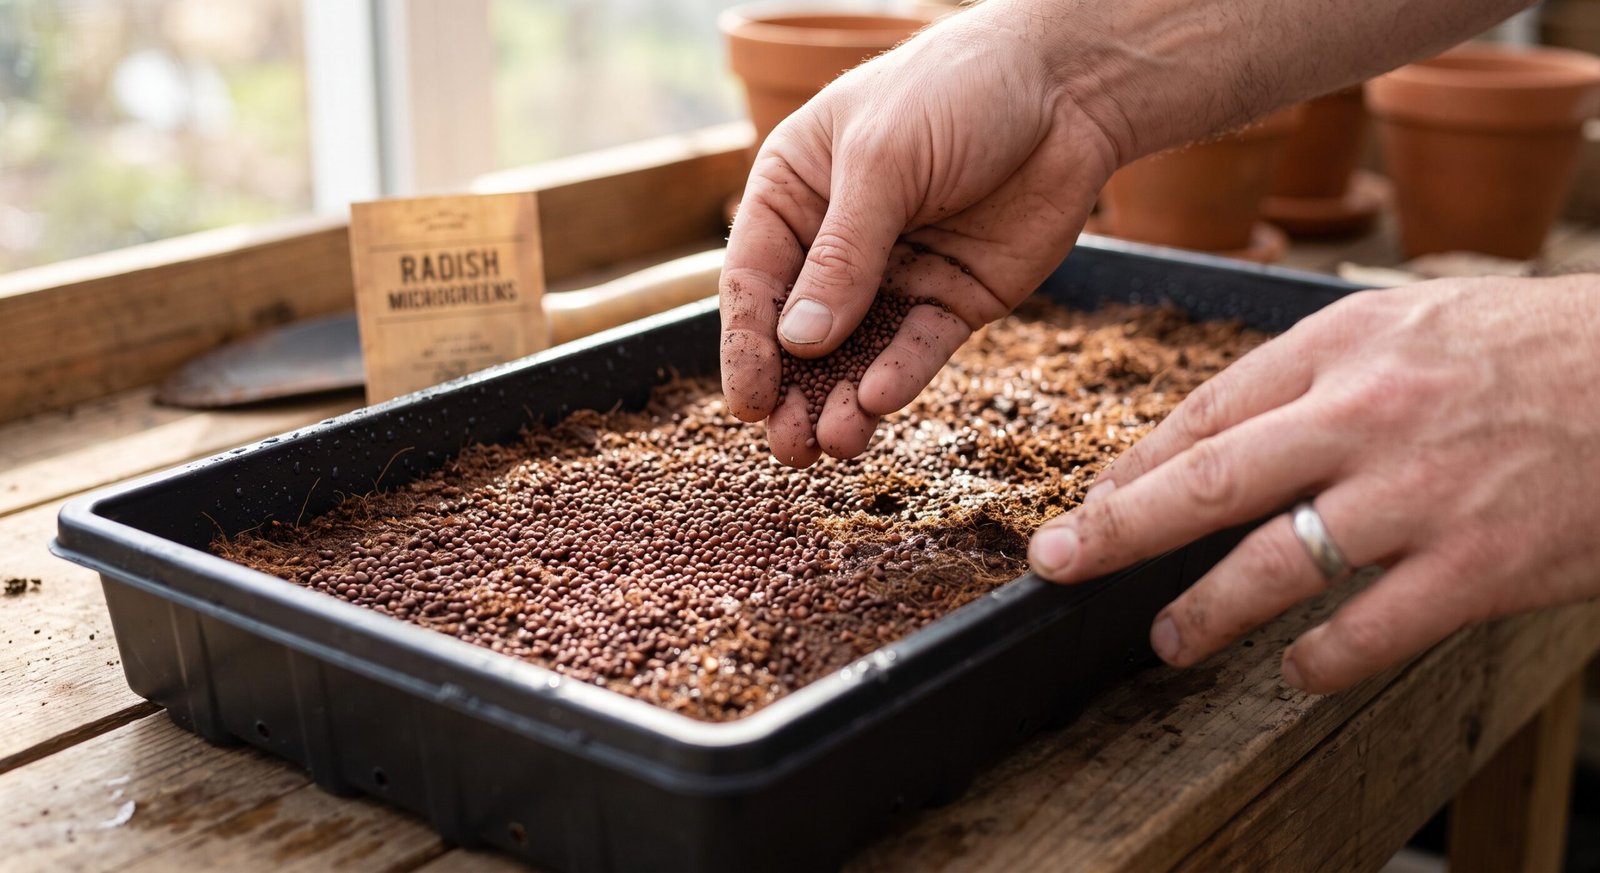
Unlike regular outdoor planting, microgreen seeds are sown densely across the soil surface. Scatter your seeds evenly so they almost touch without piling on top of each other. Mist the seeds generously using a spray bottle.
Step 3: The Blackout Phase
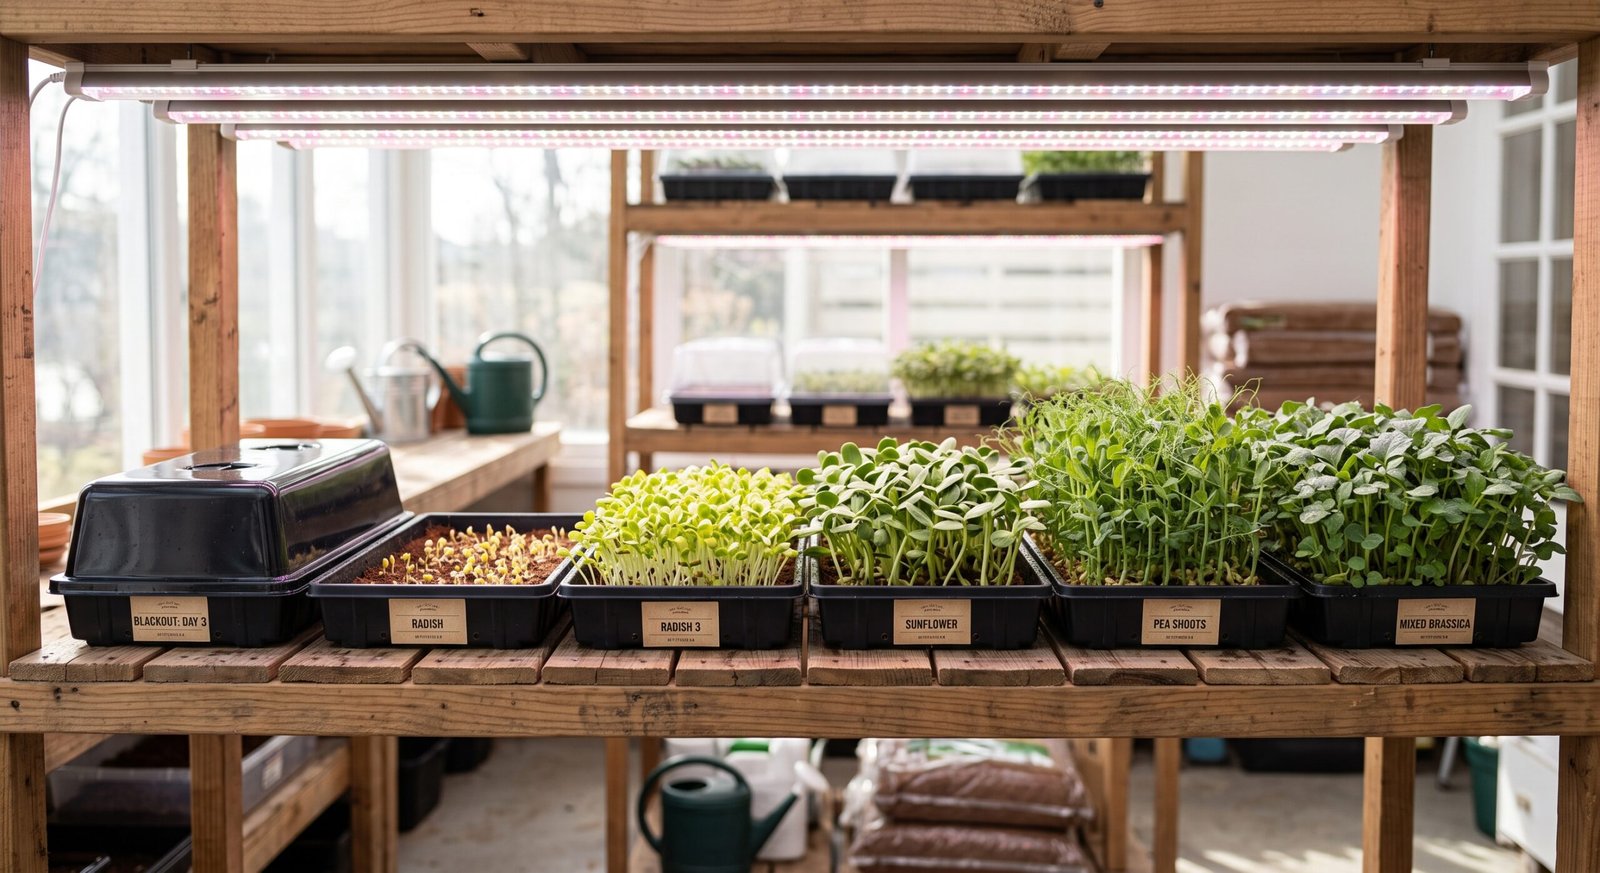
Cover the seeded tray with an inverted solid tray or weight plate to block all light. Place a 2–5 lb weight on top for the first 3 to 4 days. This forces the roots to push deep into the medium while encouraging strong, uniform stems.
Step 4: Light Exposure and Bottom Watering
Once the sprouts reach about 1 inch in height and show pale leaves, remove the cover and move them into direct sunlight or under grow lights for 12–16 hours daily.
Stop top-misting. Instead, pour water directly into the bottom solid reservoir tray. The soil will absorb moisture through the drainage holes, keeping delicate stems and leaves completely dry.
Harvesting, Storage, and Avoiding Mold
When and How to Harvest
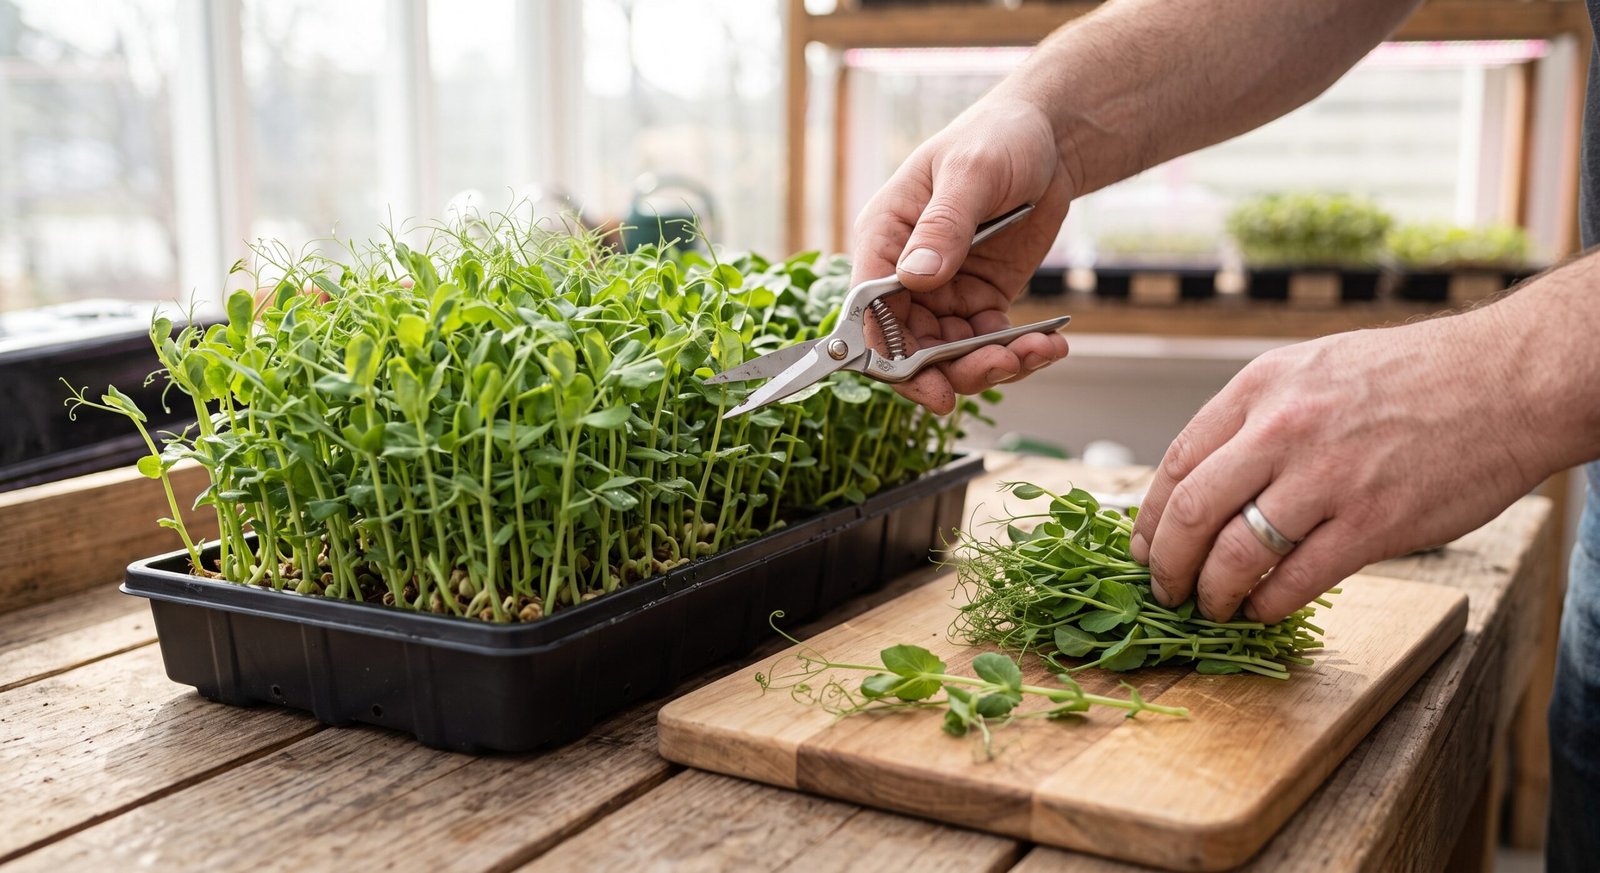
Harvest your greens when their first true leaves appear, or when cotyledons are fully expanded (typically 2 to 3 inches tall). Use sharp scissors or a clean knife to snip the stems just half an inch above the soil line.
Preventing Mold Growth
Mold is the most common challenge when learning how to grow microgreens indoors. Prevent white fungal growth by keeping room humidity below 50%, maintaining active air circulation with a small fan, and strictly practicing bottom watering.
Proper Storage
Do not wash microgreens until right before eating. Store dry, harvested shoots in an airtight glass container lined with a paper towel inside your refrigerator to keep them crisp for up to 10–12 days.
Conclusion
Understanding how to grow microgreens indoors empowers you to produce nutritious, gourmet food in small spaces with minimal tools. By choosing quality seeds, providing proper germination blackout conditions, and maintaining bottom-watering practices, you can enjoy an endless supply of fresh, homegrown greens week after week.
Frequently Asked Questions
Do microgreens regrow after cutting?
Most microgreen varieties, such as radish, broccoli, and mustard, do not regrow after harvesting because their growing points are removed during cutting. Pea shoots and sunflowers may produce weak secondary shoots, but starting a fresh tray yields better results.
Can you grow microgreens indoors without grow lights?
Yes. Microgreens grow well on a bright south- or east-facing windowsill that receives at least 4 to 6 hours of direct natural light daily.
How long does it take to grow microgreens indoors?
Fast-growing crops like radish and mustard take only 6 to 8 days, while crops like sunflower, pea shoots, and basil take between 10 and 14 days from sowing to harvest.
1 thought on “Microgreens: How to Grow Microgreens Indoors”